How to Print a Self Test Page on Epson LX-350 (Step-by-Step Guide)
If you are troubleshooting your Epson LX-350 dot matrix printer or simply want to check its performance, printing a self test page is one of the easiest and most effective methods. This built-in function allows you to verify that the printer hardware is working properly without needing a computer.
Why Print a Self Test Page on Epson LX-350?
The self test feature is useful for several reasons:
- Check print quality and alignment
- Verify that all printer components are functioning correctly
- Identify issues without connecting to a PC
- Test ribbon and paper feed performance
Step-by-Step Guide to Print a Self Test Page
Follow these simple steps to print a self test page on your Epson LX-350:
- Make sure the printer is turned off.
- Load paper into the printer.
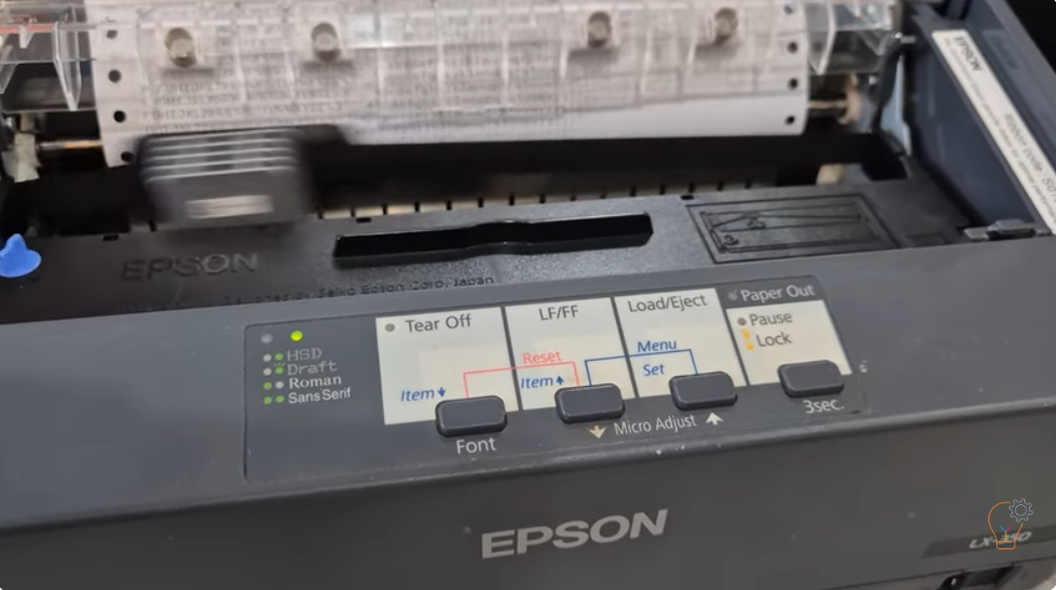
- Press and hold the LF/FF button or the Load/Eject button.
- While holding the button, turn on the printer.
- Release the button once the printer starts printing.
The printer will begin printing a self test page using Draft mode if the LF/FF button is used.
Understanding the Self Test Output
The printed test page will display:
- Printer model information
- Character set and font samples
- Current settings and configuration
If the printout is clear and complete, your printer is functioning correctly. If you notice missing lines, faded text, or irregular printing, it may indicate a problem with the ribbon, print head, or paper feed mechanism.
Troubleshooting Tips
- Ensure the ribbon cartridge is properly installed and not worn out
- Check for paper jams or misaligned paper
- Clean the print head if print quality is poor
- Repeat the self test to confirm consistent results
Running a self test page on the Epson LX-350 is a quick and reliable way to diagnose printer issues. Since it does not require a computer, it is especially useful for identifying hardware-related problems. Regular testing can help maintain optimal printer performance and prevent unexpected downtime.